
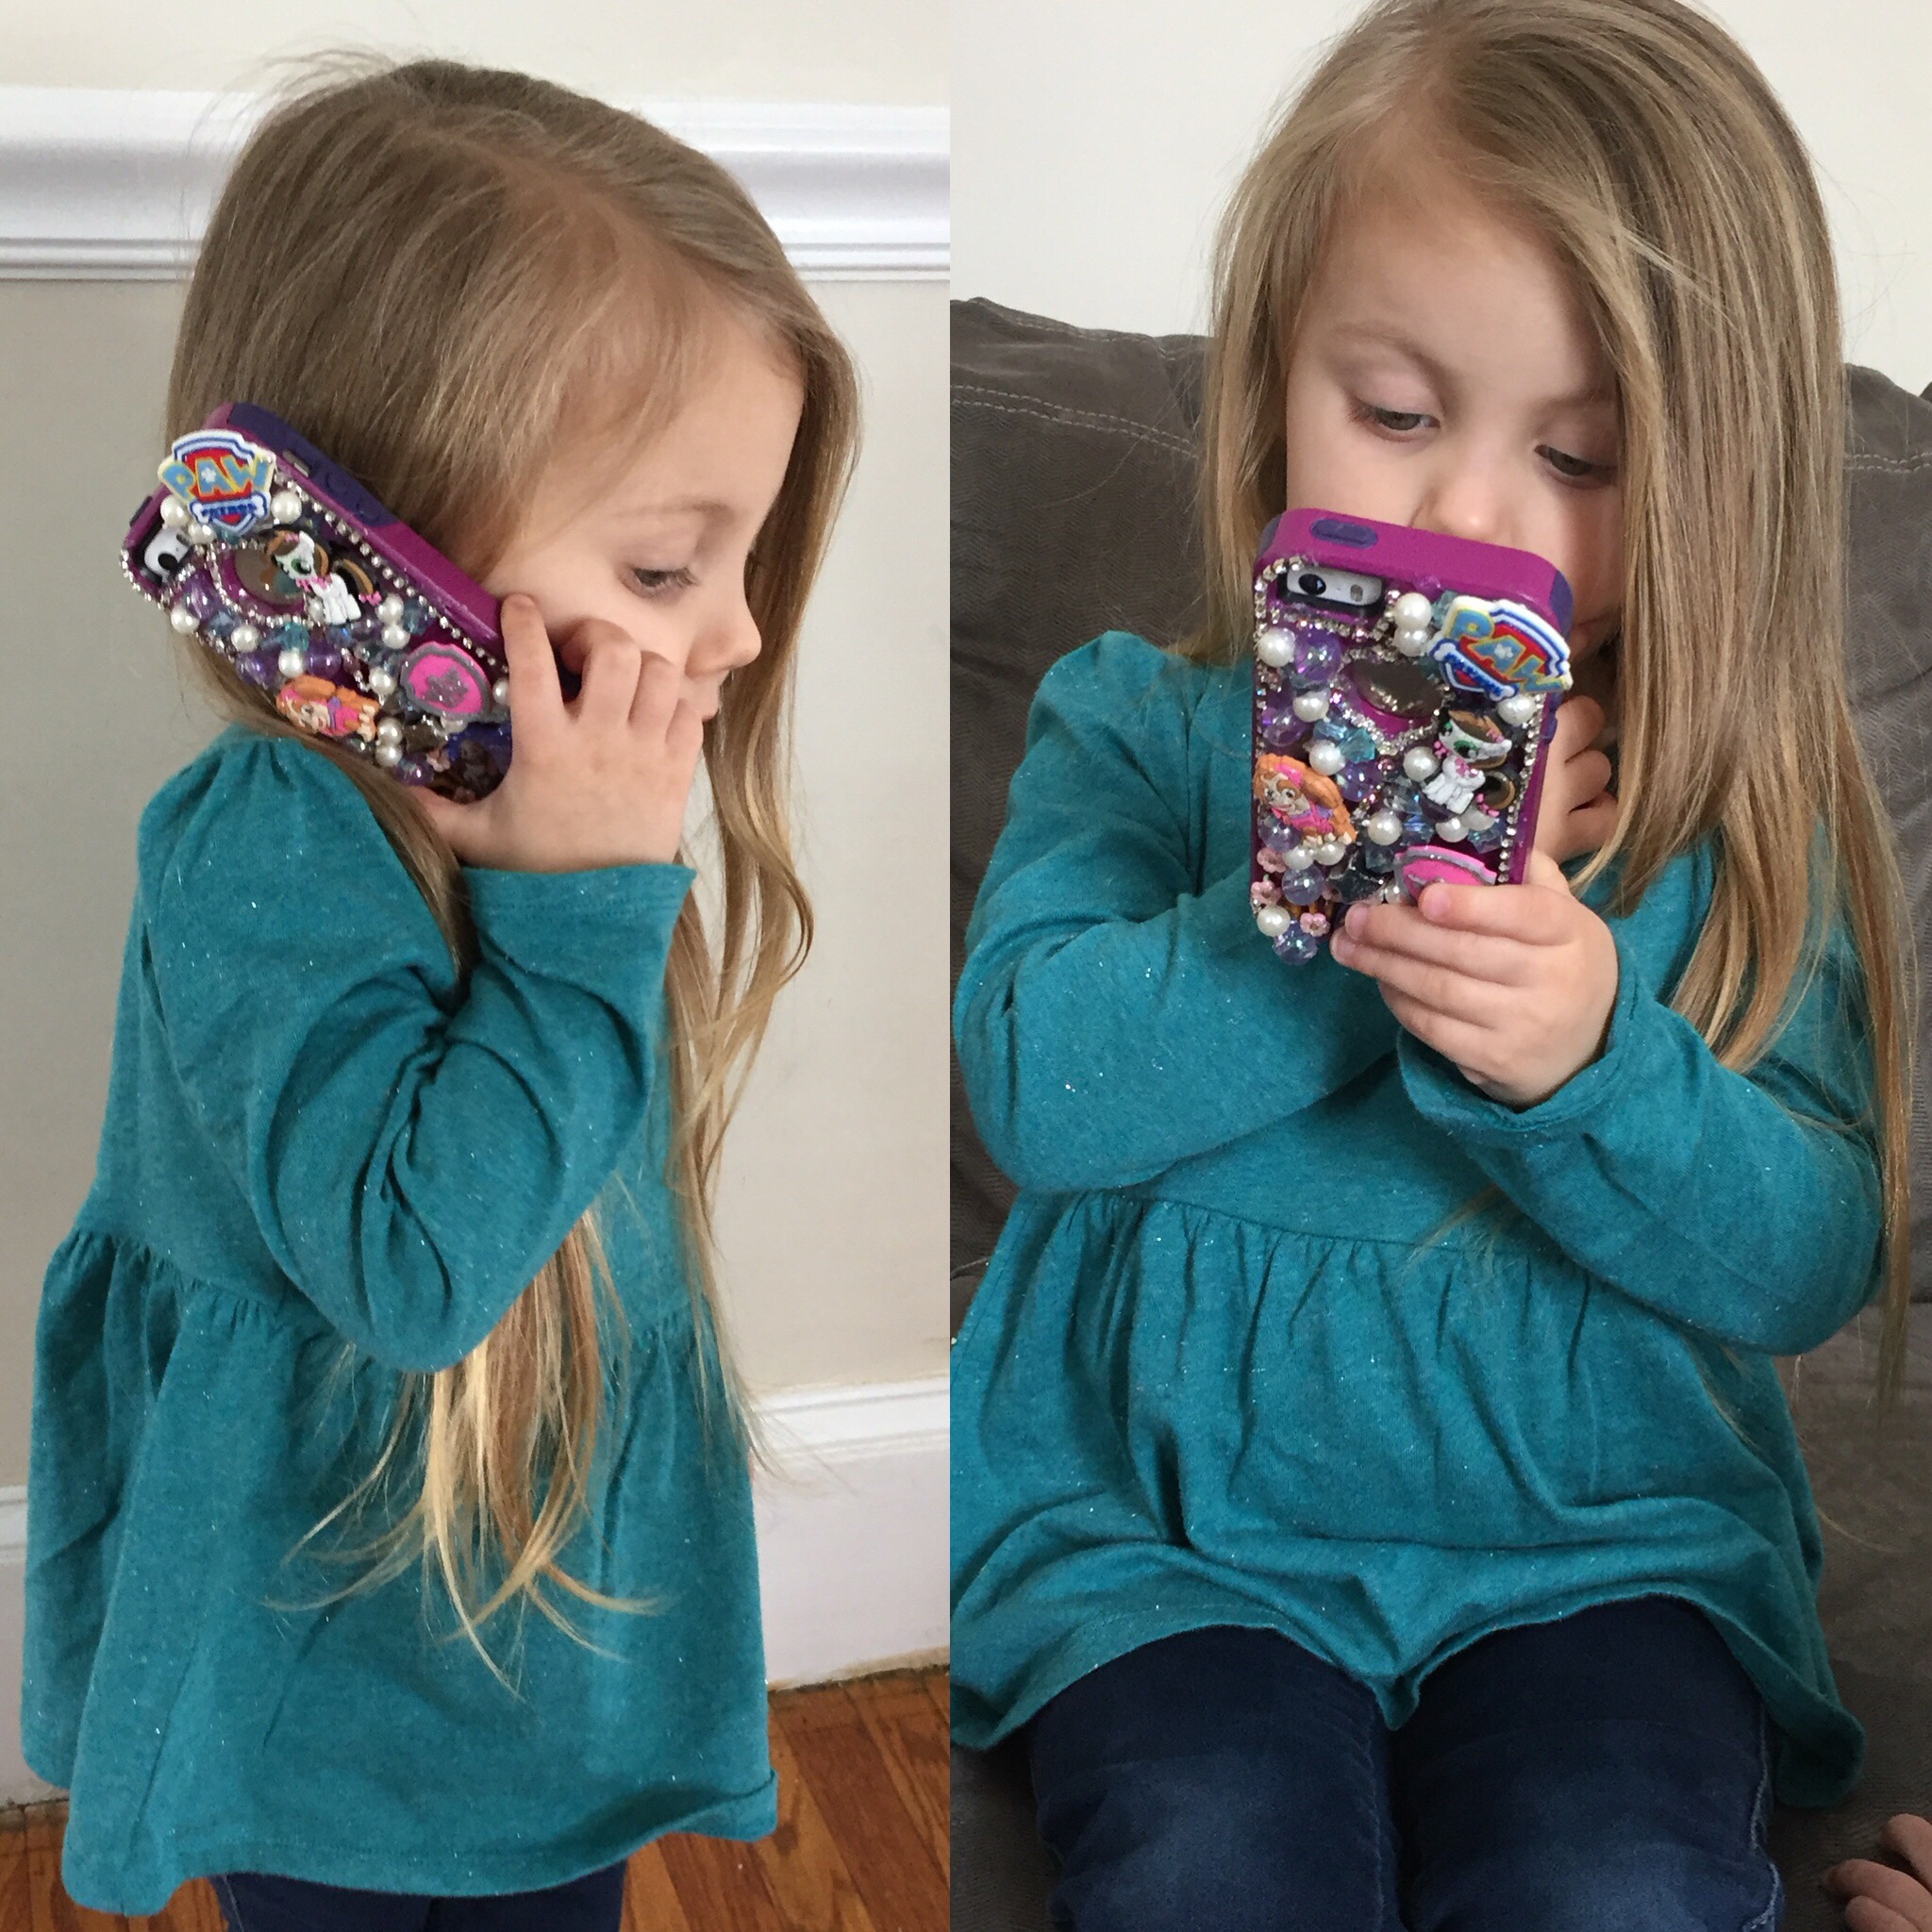
The other day while browsing Instagram, I came across a page that was marketing these cell phone bling cases “for kids”…..
These particular cases were selling for $50! They appeared to just be phone cases with objects glued onto them. So, I decided to do a little of my own googling.
A few of the DIY videos I found used a combination of crafters glue (some were pretty harsh) and hot glue guns but, for the most part, every video was the same…..a bunch of knick knacks glued onto a phone case.
Yet these suckers were still getting sold for $50…..
I decided to do my own DIY case, using only a glue gun and objects I found around the house. My project wound up costing me a whopping $2.49…for glue…..
Considering a phone case for a child is going to be dropped A LOT I’d predict that a few of these glued pieces are bound to fall off and need re-gluing…Id urge anyone who likes these cases to make them instead of spending money for someone else to do it. It took me less than an hour and the phone was ready to use within minutes.
…..OH, and it was EASY! I promise you!
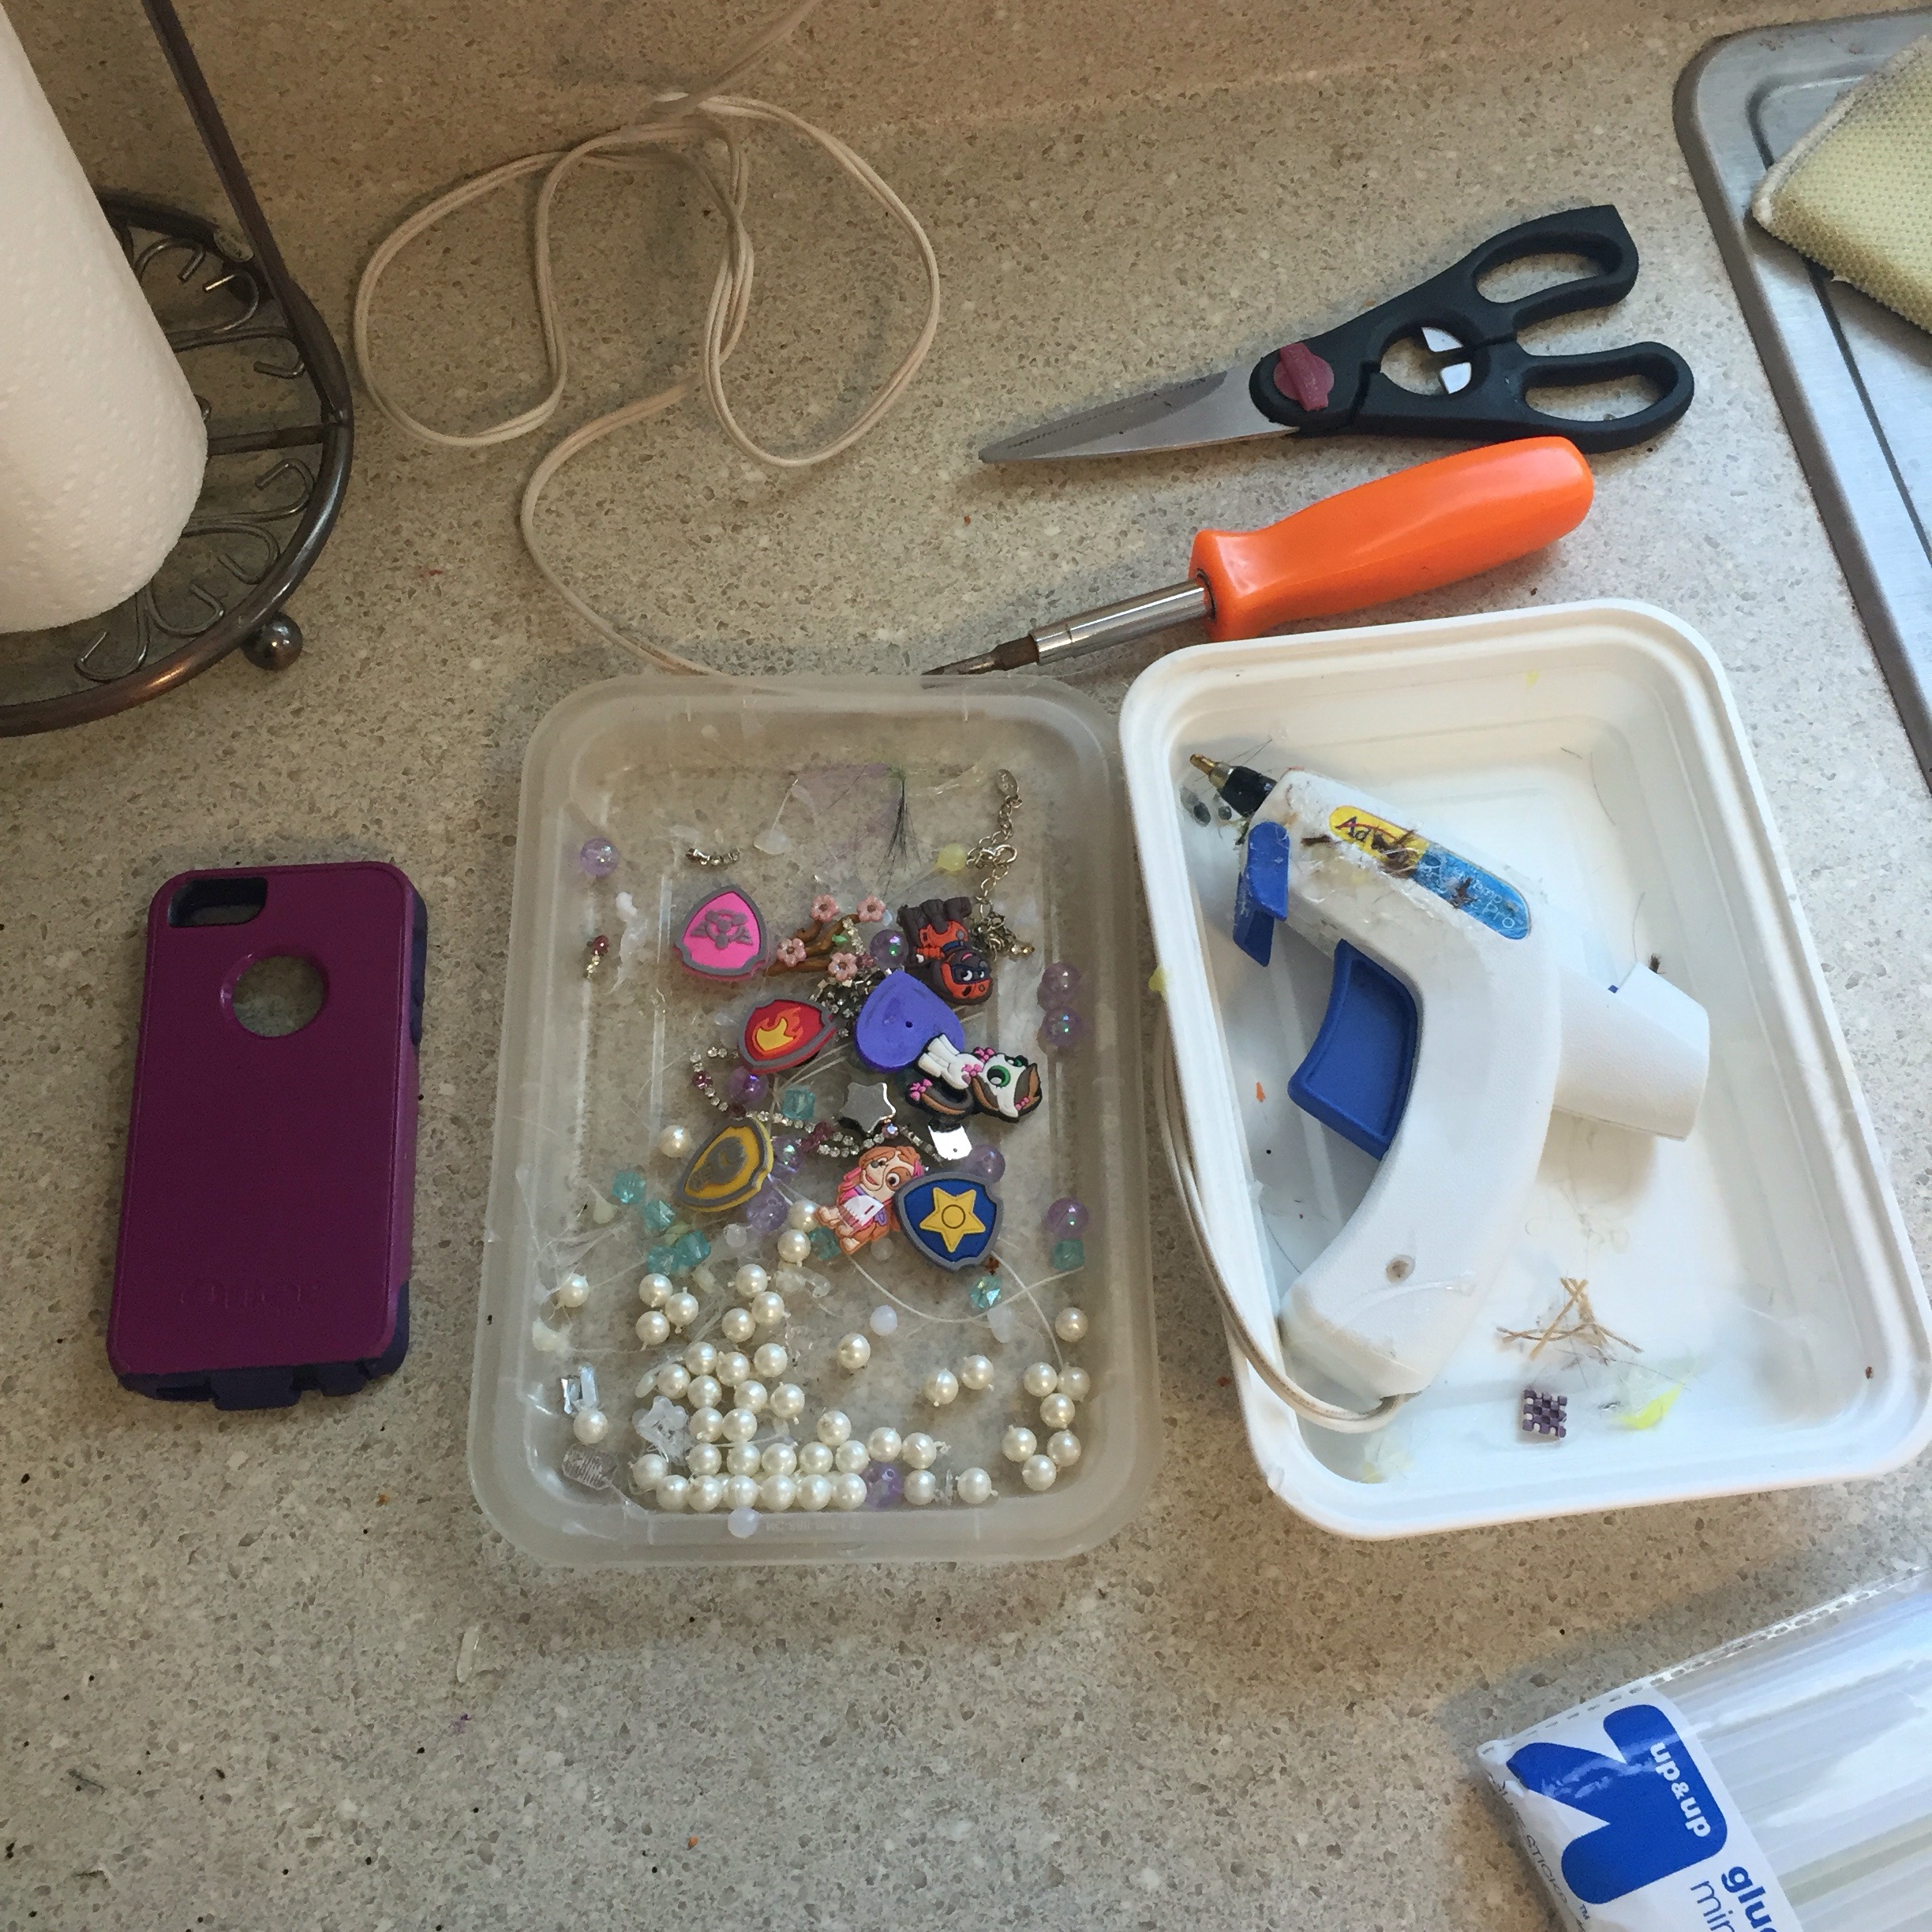
Here’s what you need:😊
– A phone case. This was my old phone and case that I gave to Hayley. I just used this case but if you don’t have one you can find cheap plastic cases for about $1 at some dollar stores or on Amazon.
-Old jewelry, little toys, beads, pearls, sequins, brooches or pretty much anything else you’d want on your case…..the possibilities are endless. If you can’t find the right stuff laying around the house, AC Moore and Michaels has decent, cheap jewelry and charms
(You will want to have 3-6 large “statement” pieces and the rest of your pieces should be “background bling” these are smaller objects like pearls, beads, sequins or crystals.)
-A hot glue gun and glue sticks
-toothpicks
Things you may want to have handy:
– Pliers, scissors, screwdriver (basically because if you’re using jewelry you’re going to have to break it, bend it and remove some clasps and posts)
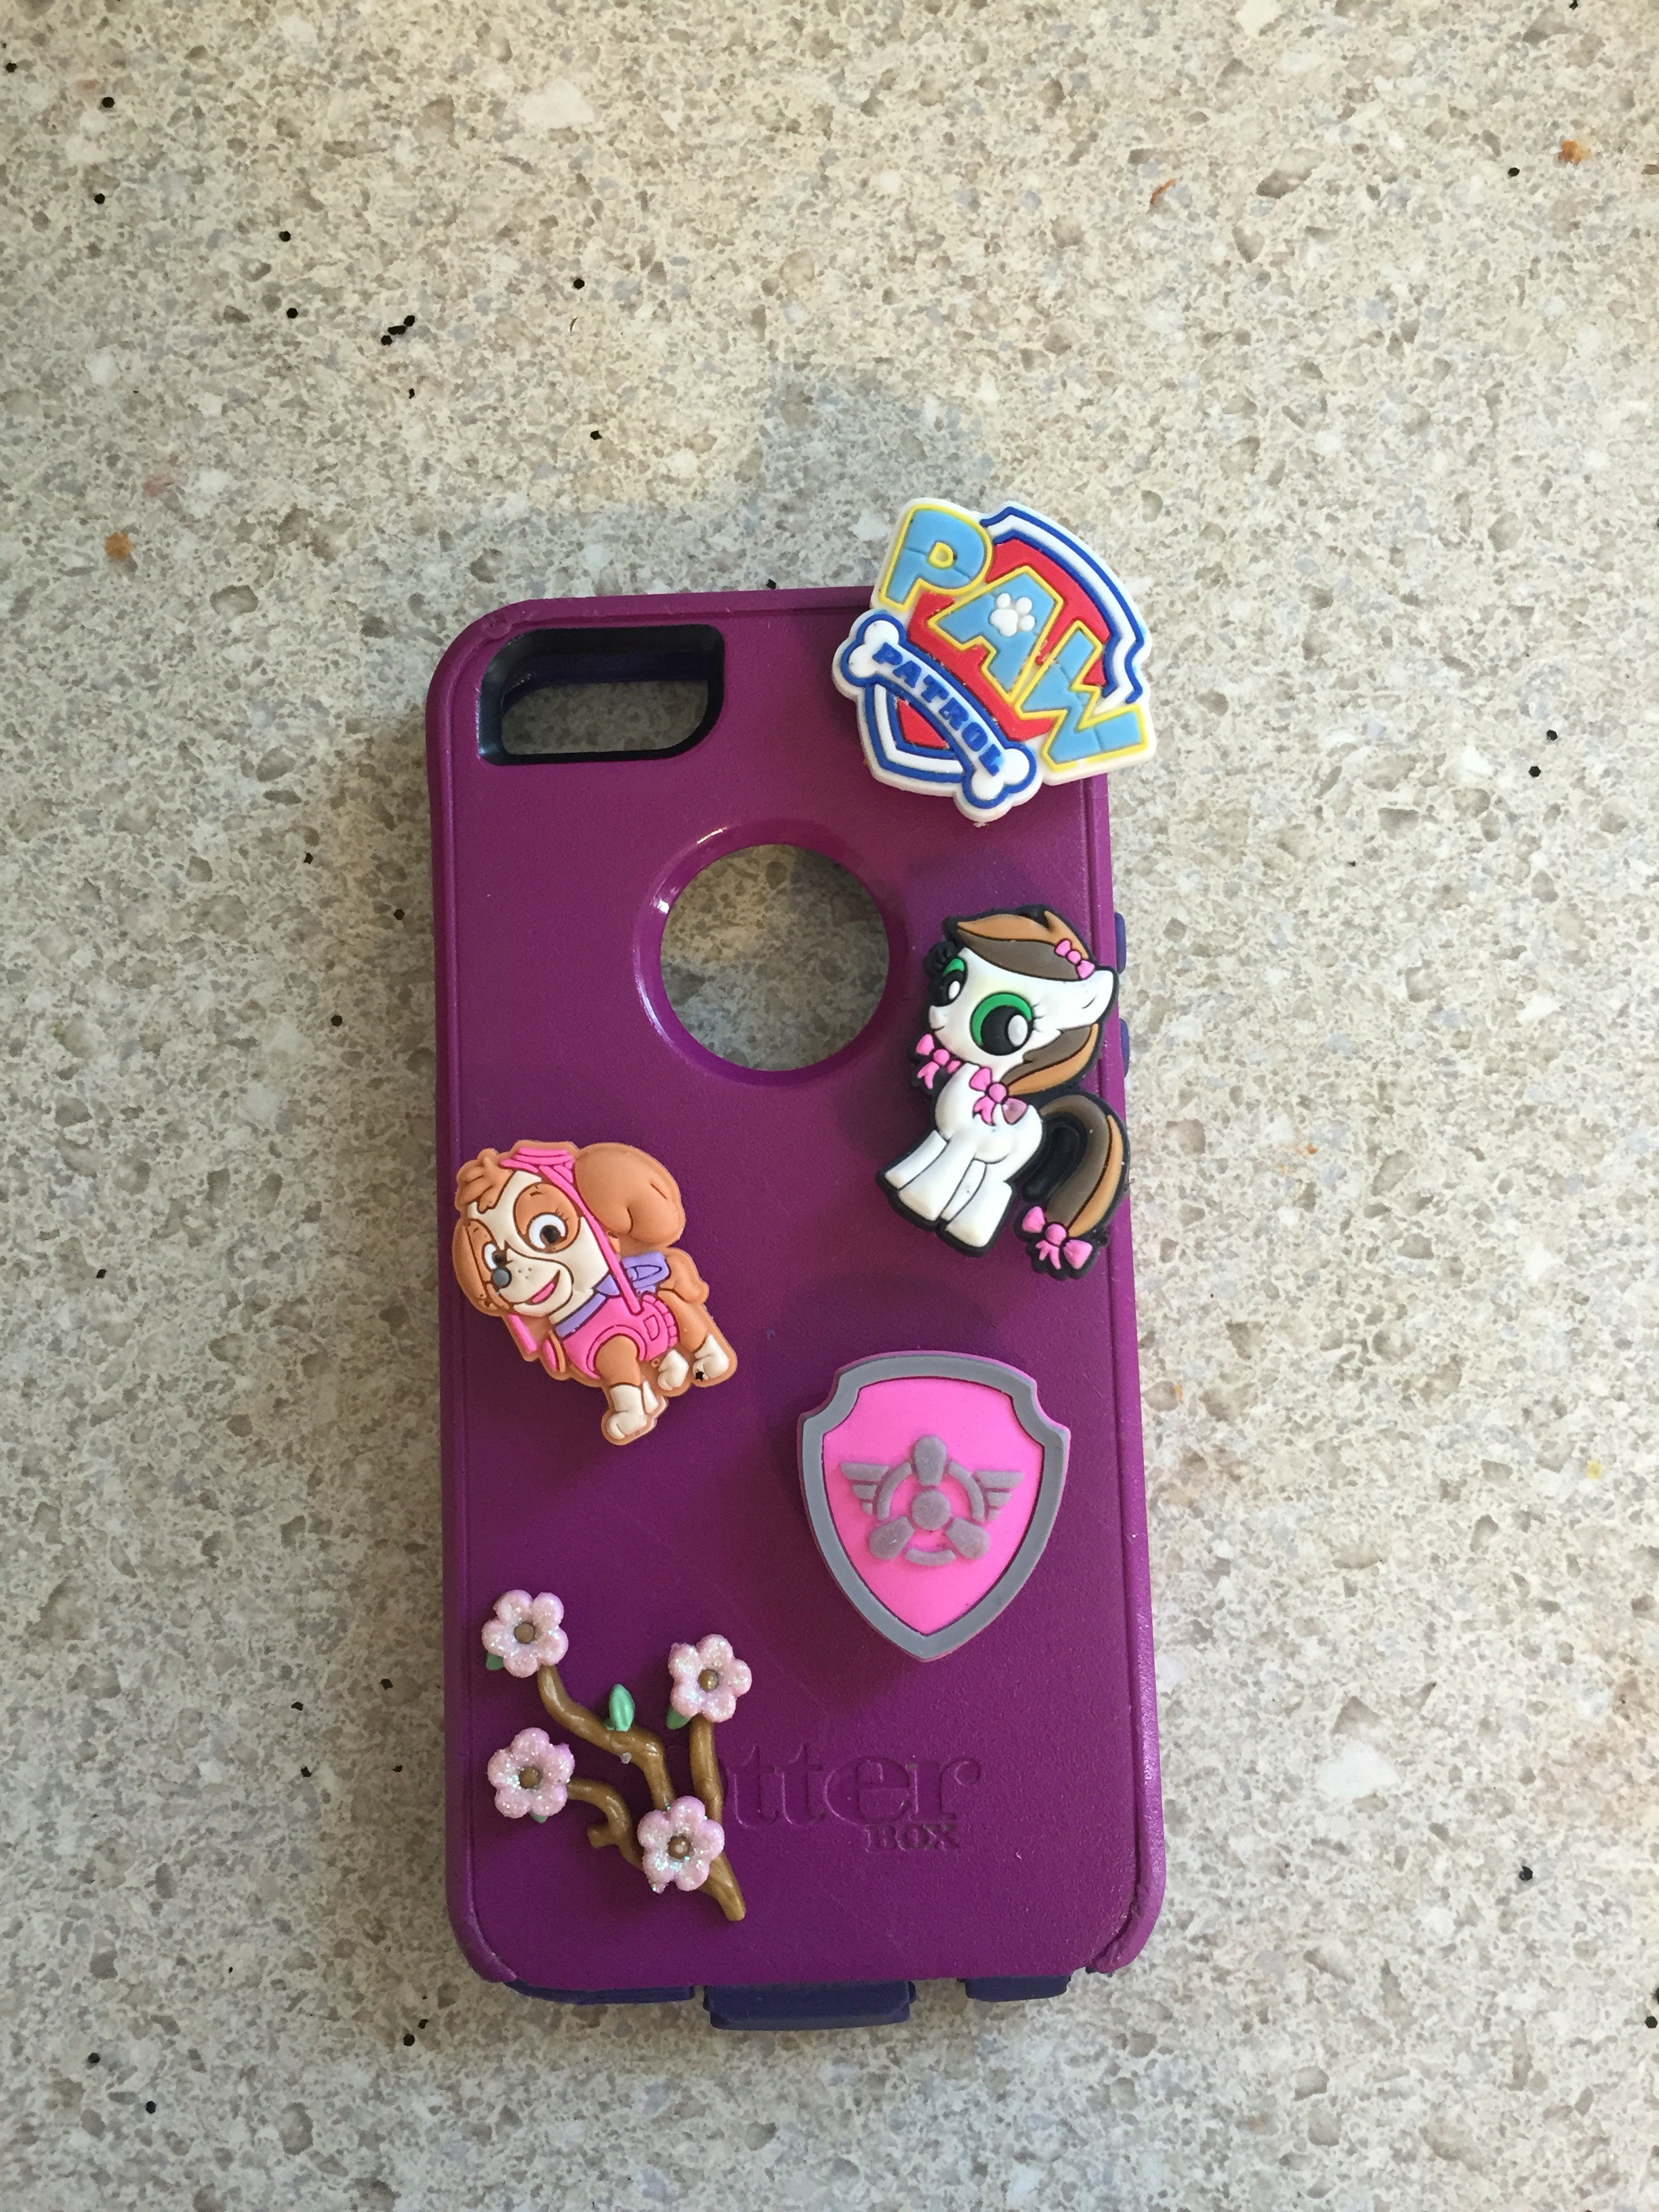
The first thing you’re going to want to do is arrange your “statement pieces”, these will be the few larger pieces that will really stand out on the phone.
Arrange them WITHOUT gluing and play around with their positions until you have them placed in the way you like. Then glue them onto the case (I found that putting the glue directly onto the pieces rather than the case worked best)
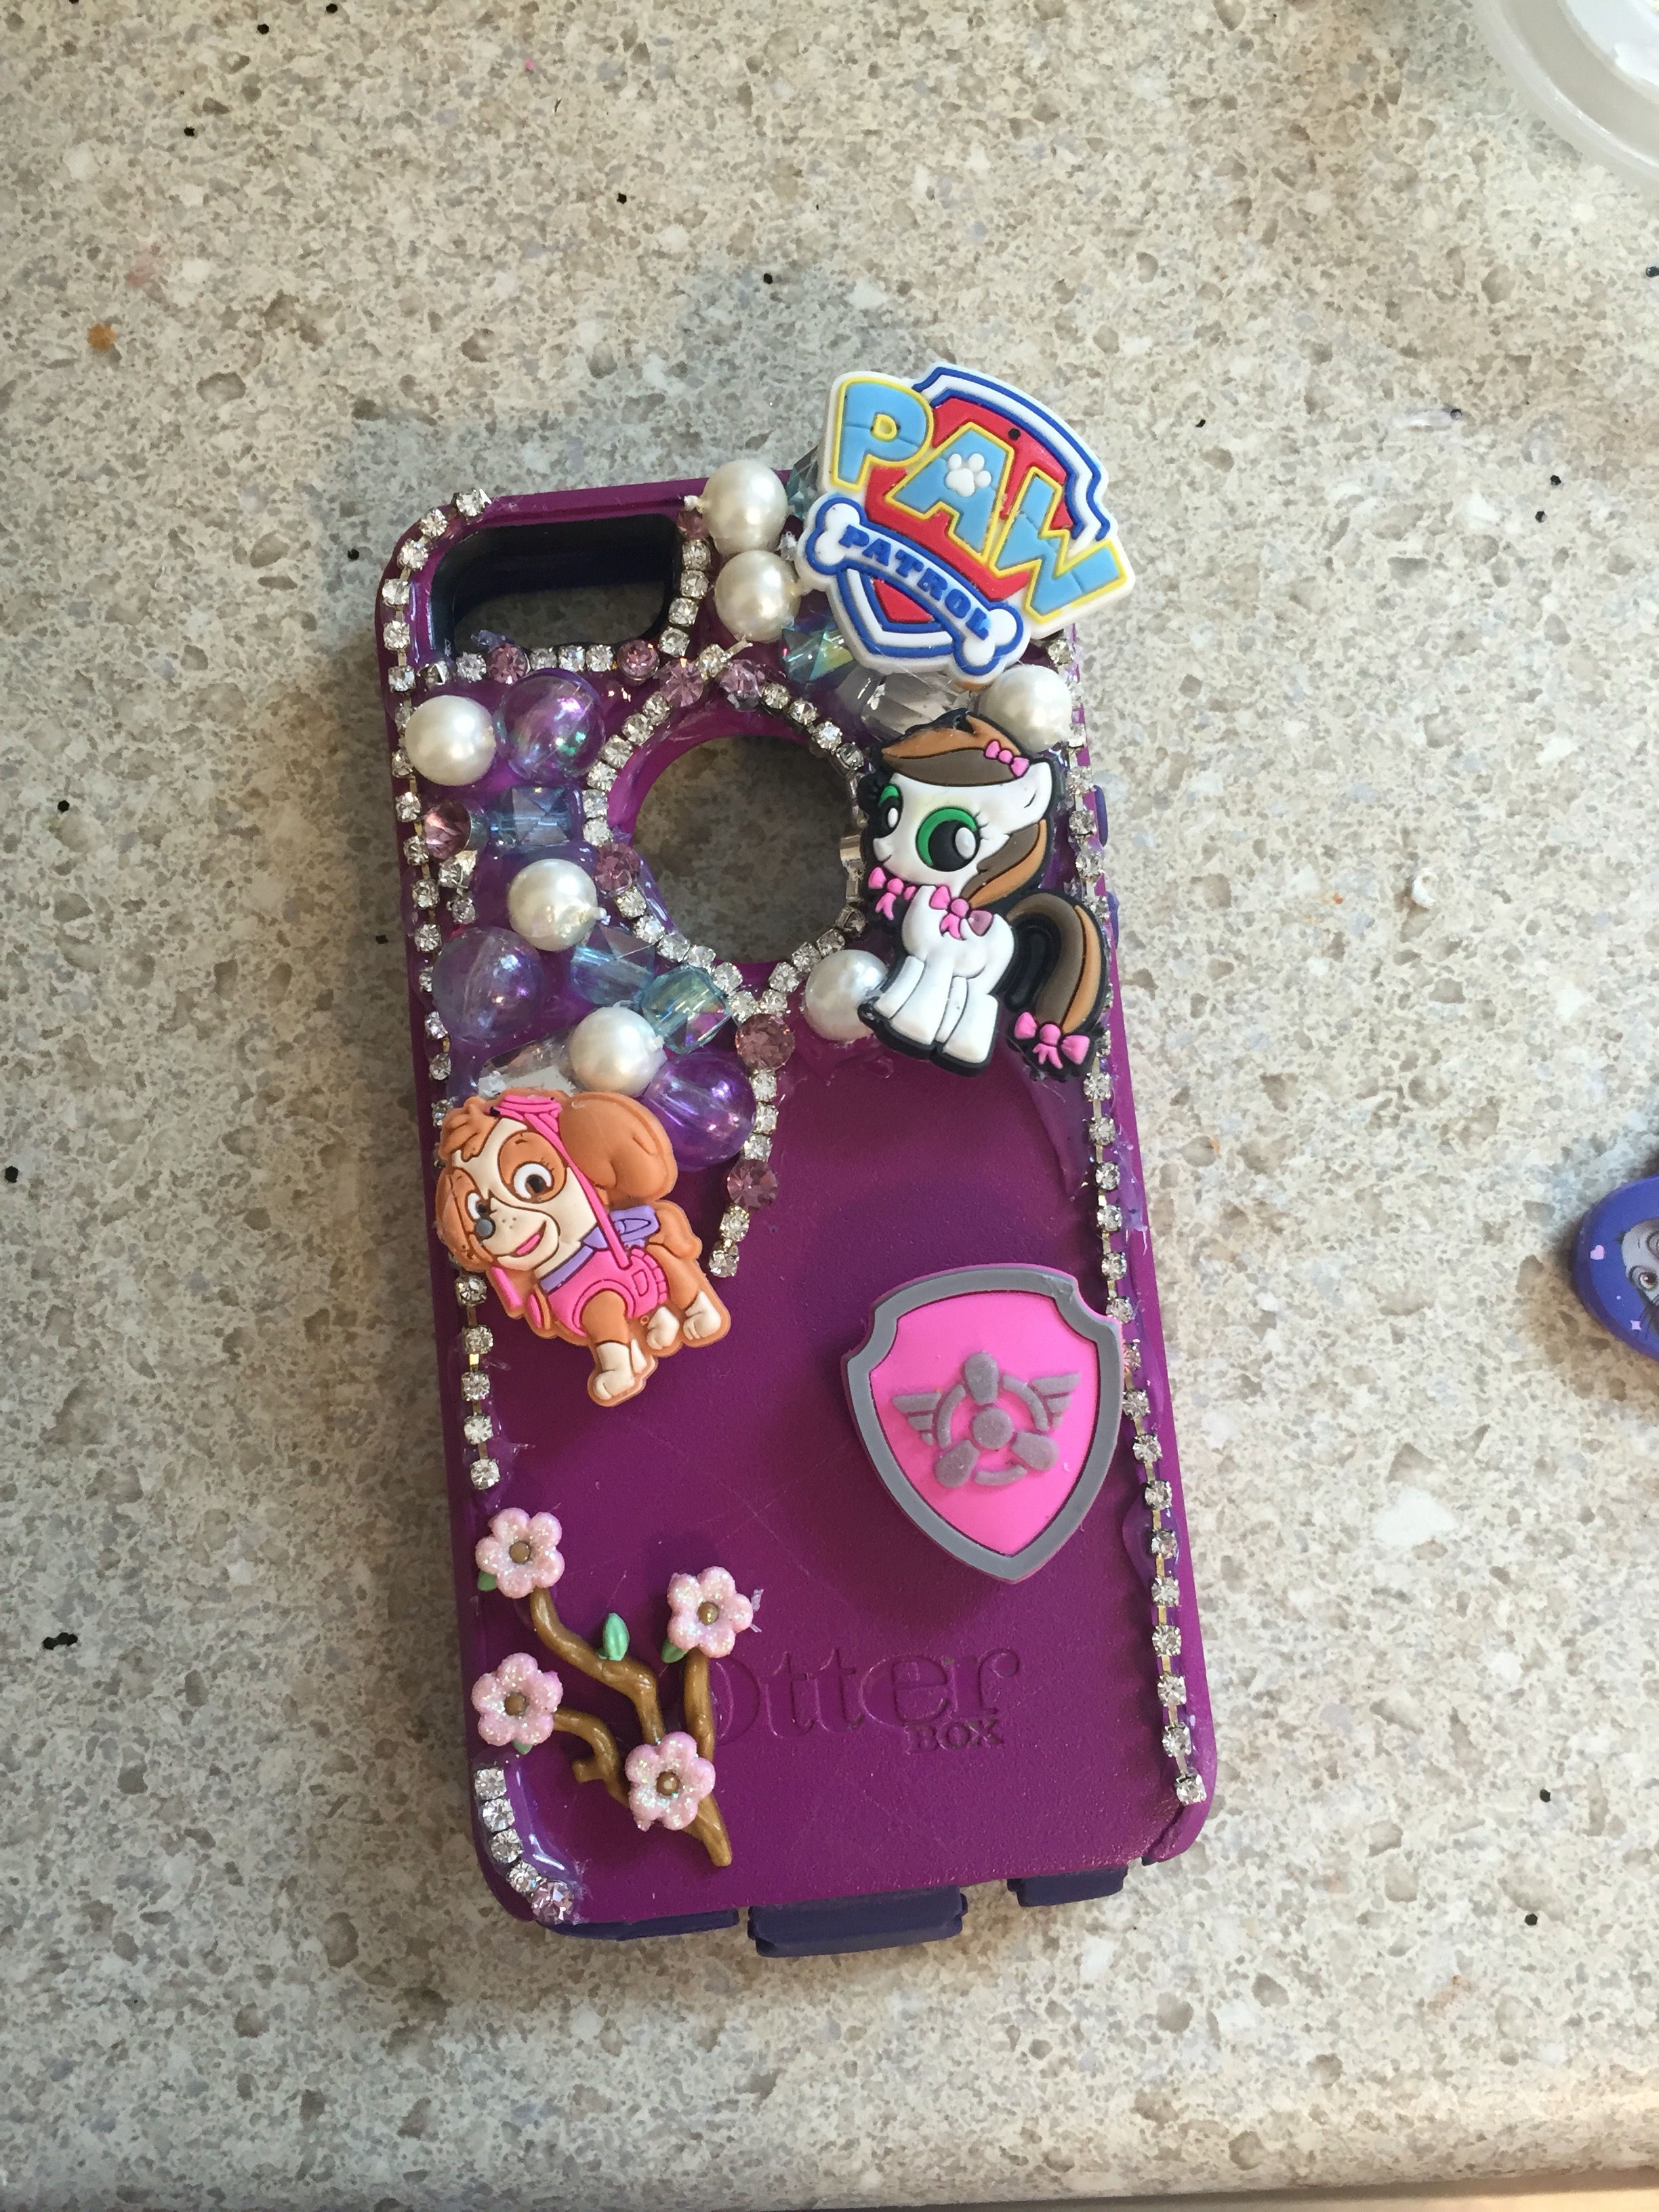
Next, I chose to do do a border around the phone with crystals. Totally optional, but if you do choose to have a border make sure you glue it down before you glue your “background bling” a.k.a the beads, sequins, pearls or whatever you choose for your minor pieces.
Once your statement pieces and border (if you choose to have one) are secure its time to arrange your minor pieces or “background bling.”
Once again, you’re going to want to play around with different arrangements before you use the glue.
When you are ready to glue I found it easiest when doing my minor pieces to spread the glue out on a small area of the phone and lay down 3-4 pieces at a time. Allow them to dry, and remove any glue “spider webs” before moving on to the next section.
Try to fill up as much empty space as possible with your minor pieces…this is where the toothpick will come in handy…..So you can move pieces without gluing your fingers.
Once all of the space is filled up, your case is finished!
For a little extra shine I painted over my statement pieces with a coat of glitter paint…..I recommend it!

